Registered version
Before purchasing and installing the registered version of Flexible TreeView, ensure that your system meets the system requirements.
After purchasing Flexible TreeView Developer license, you will receive the registered version installation program and your license key(s) to the e-mail address specified in the order.
Note
The registered license key won't work with the trial version installation.
Install registered version#
-
Uninstall the trial version. Make sure you don't have any ARMSoft.FlexibleTreeView.*.dll assembly left in .NET GAC if your application targets .NET Framework.
-
Download the registered version installer using the provided link and run it.
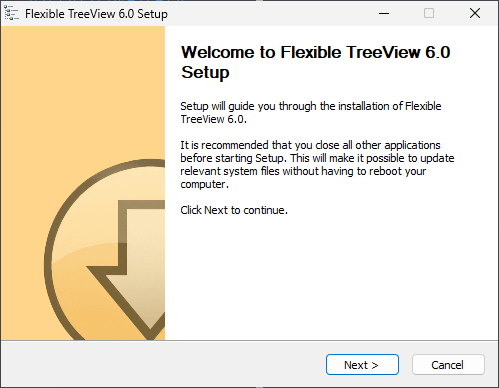
- Click the
Nextbutton and accept the license agreement by clicking theI Agreebutton.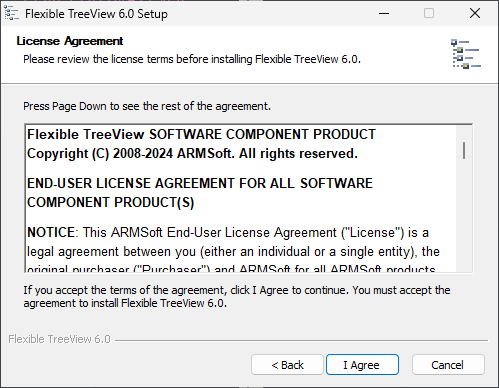
-
Choose the components to install.
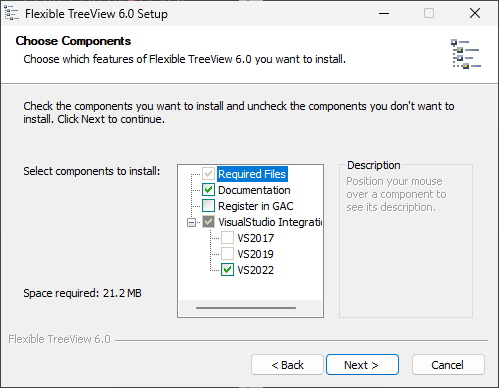
When installing on a developer's computer, enable the
Register in GACcomponent only if your application targets the .NET Framework. Additionally, enable the corresponding version of Visual Studio to integrate Flexible TreeView into its Toolbox.After installation, the Toolbox of the specified version of Visual Studio will include the Flexible TreeView control group and its controls. Also, read here about how to manage the Toolbox in Visual Studio.
-
Click the
Nextbutton, select the target directory path for installing Flexible TreeView, and then click theInstallbutton to begin the installation. The process may take some time to register the control in the selected versions of Visual Studio if that component was enabled. -
Optionally at the end of the installation, you can run the Samples Suite which will show you the Flexible TreeView control in action and open the Flexible TreeView Help offline documentation to dive deeper into the control features.
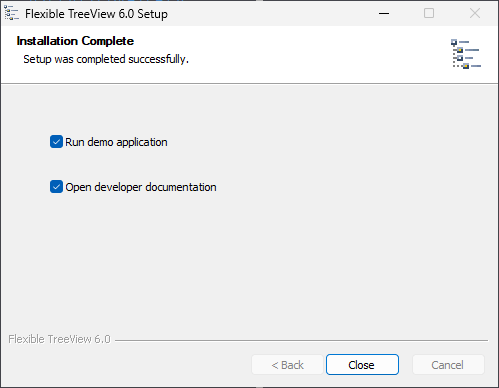
Note that to open the documentation, you have to select the Documentation option in the installation components.
Install license key on developer computer#
After the registered version installation, the received license key should be installed to be able to use Flexible TreeView in your applications.
Here are two ways to install your license key:
-
Using Visual Studio:
- Copy your license key text from the received registration information e-mail:
-
Start Visual Studio under an administrator account, create a sample Windows Forms project, open the project form's designer, and drop the Flexible TreeView control from the Visual Studio Toolbox.
Tip
Don't see Flexible TreeView in the Toolbox? Read here for solutions.
-
Right-click the treeview control on the form and select the
About Flexible TreeViewcontext menu item.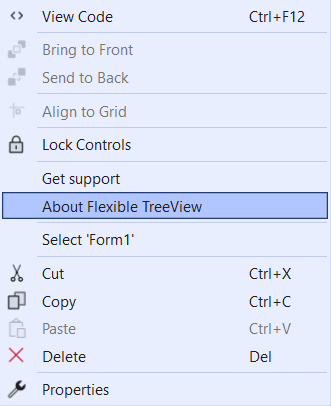
-
In the opened dialog, click the
Unlockbutton, paste your license text into the opened window and clickOK.Tip
If you don't see the
Unlockbutton then you still using the trial version. Read here for the solution. -
Restart Visual Studio under your usual Windows account. After this, Flexible TreeView should not show any pop-up messages about the trial period.
-
Using the supplied License Manager tool:
- Copy your license key text from the received registration information e-mail:
- Start the Windows command prompt under an administrator account.
-
Execute the License Manager by passing your license key as a parameter:
or save the license key to a text file and pass its path to the License Manager: UseLicenseManager.exe is a part of the Flexible TreeView installation and it is stored in the Tools folder.
-uparameter to uninstall the license:
Install license key on build server#
The Flexible TreeView license agreement does not require a separate license for build machines; you can install your Developer License key on an unlimited number of your build machines.
Use either Visual Studio or the License Manager tool to install your license, as described above.